Tutorial: How to make a square plate on the wheel
Before I delve too deeply into this post, I want to thank everyone for the warm "welcome back" that I received after my last post; comments on the post, comments on Facebook and some really wonderful emails. Thanks for all the warm fuzzies and cheering on! I'm happy to be blogging again!
And now for the fun stuff! How to make a square plate on the wheel. Or at least my version of a squared off plate.
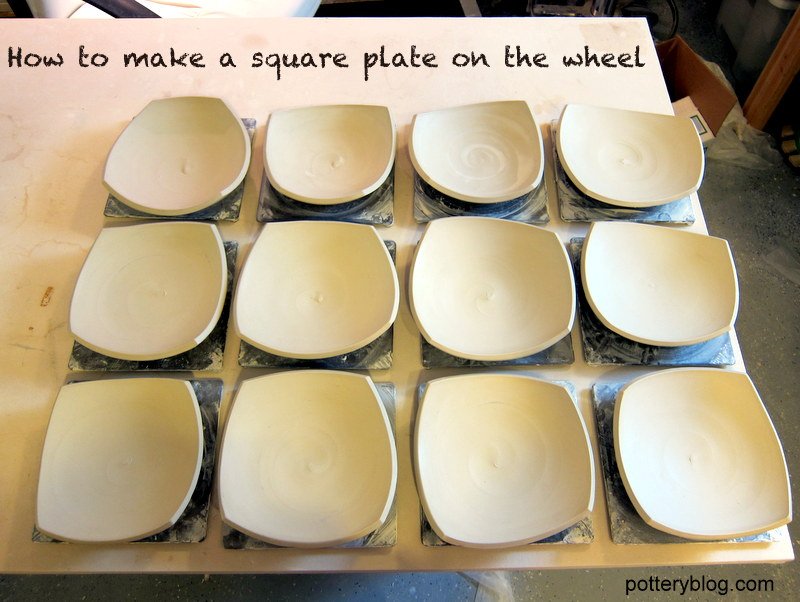
First you have to start by throwing a deep plate/ shallow bowl. I want to have a nice curve to the piece, even after I cut off the sides of the plate. So I have found that making a deep plate or shallow bowl (however you want to look at it) is the best form to start with. I am working in porcelain and want my end result to be a small plate. Something just right to hold a sandwich. I start off with 3.5 pounds of clay. Because of the way the foot is cut, it's good to leave a thick bottom to trim. I also really seem to like these to have sort of a chunky feel. When I make them thinner, they just feel like there isn't enough clay there. But really, that's up to you.
It is important to make sure that your plate is in just the right stage of leather hard for trimming and altering. If it's too soft it'll warp too much from all of the handling. And if it's too dry, you'll just struggle and it won't have that "fresh" look. I like a look where you can tell something was made without too much fuss. Marks that have made with a single bold movement. It takes good timing, lots of practice (aka mistakes) and self restraint to not overwork something.
I trim a foot that flows easily into the form. Yes, I love my Giffin Grip. And my Bison trimming tool.
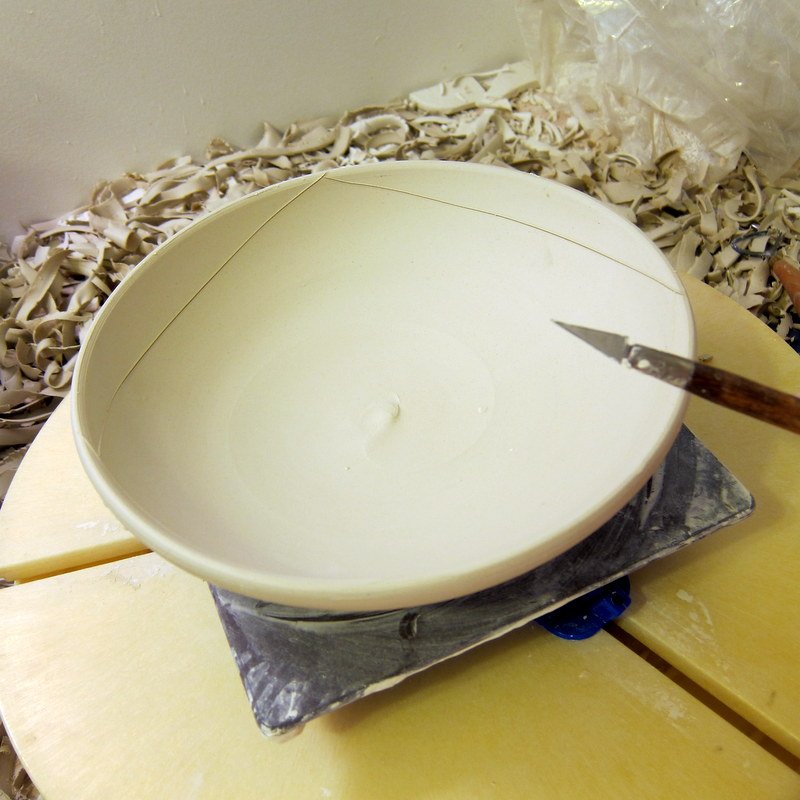
Then I flip the plate back over onto a bat. I use a sharp, thin cutting tool to mark my lines. An Xacto is perfect for this, or there is a similar type tool that I think Kemper makes. I enjoy the not perfectly square shape so I just kind of go with it.
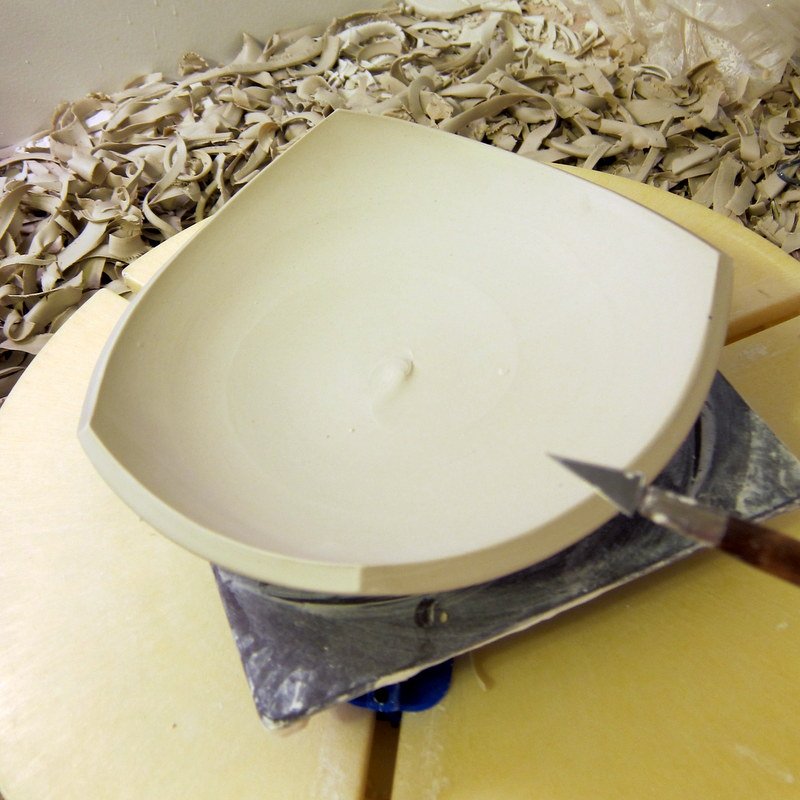
I'm sorry that with all of these photos I do not have one of the actual cutting of the pot. It's too hard to make the cut and take a photo at the same time. I hold the knife at an angle so you can see the thickness of the pot from the top - which is your typical view when eating off of one. And then I cut. I might hold my breath. I'm not sure. But I do know that I don't stop or hesitate. Just go in and make a bold cut.
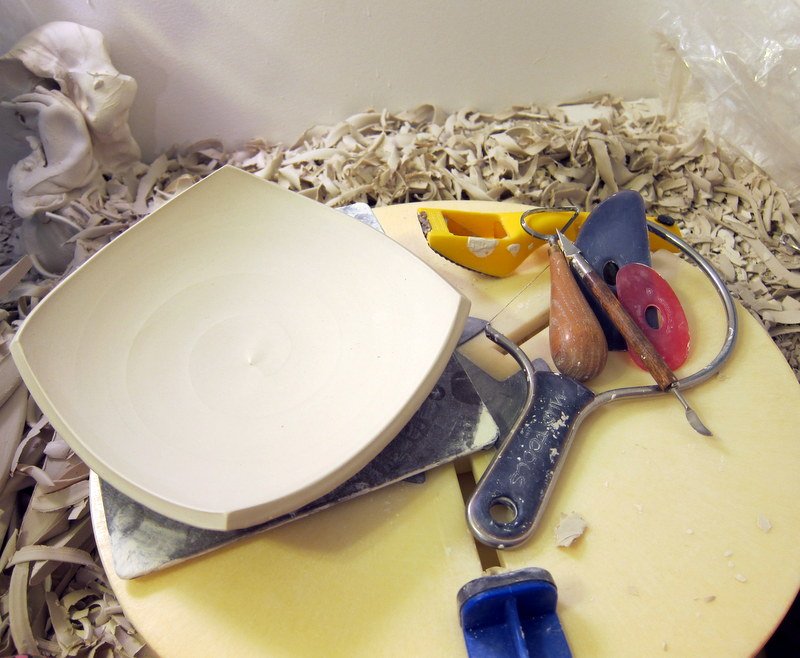
And then repeat on all 4 sides. There are times when maybe the line isn't quite as fluid as I'd like, so I will use a Surform tool (or a Mudtool Shredder) to clean it up, and then smooth it back out again with a soft little red rib. But again, show some restraint here. Or at least I have to do so myself!
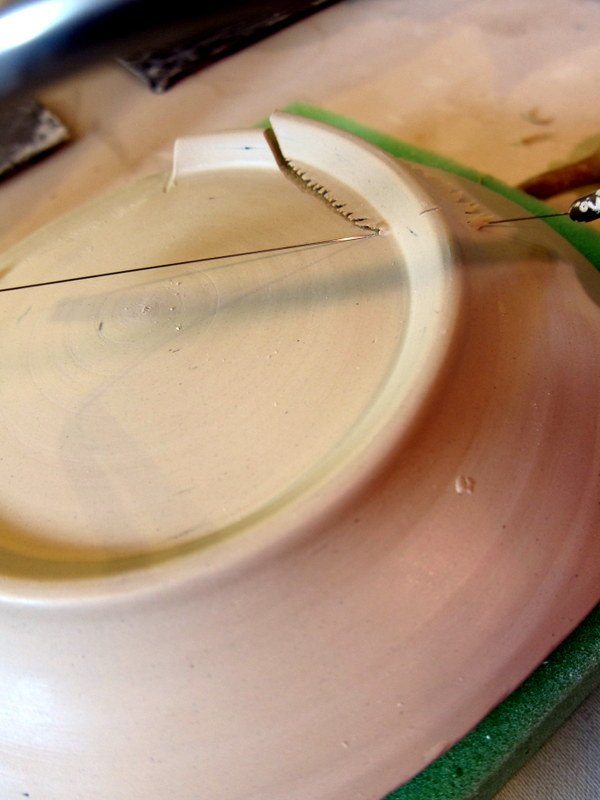
Then I flip the newly squared plate upside down onto a piece of foam. This is important. If you don't put it on something that is cushiony, then you're either warp it or mark up the corners of the plate. I use high density foam that I get from Joann Fabrics. It's the same stuff I used on this post: How to make a foam bat. You can use one of those egg crate mattress toppers or whatever else you might have hanging around.
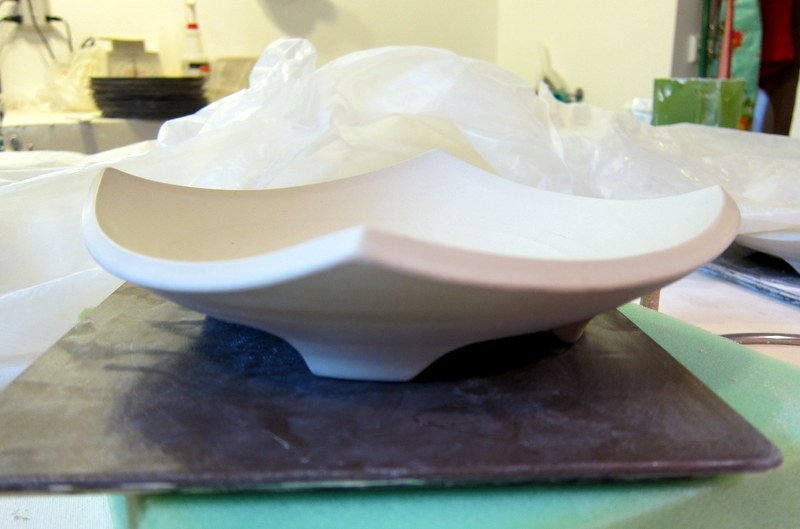
Then I use my Mudtool Mudcutter. This is on my top 5 list for favorite tools. The wire is very thin and tight. I use it for so many things. For me, it's the only thing that really works for cutting the feet on these pieces. I tape the wire onto the foot ring to mark where I am going to cut. Then I cut down, over and then up again. And it's just like cutting the sides of the piece. Make bold, confident cuts!
I think it gives the piece some much needed lift. I just love the movement and individuality of each piece. It's fun to embrace that aspect of the pots.
And there you go ... that's how I make square plates on the wheel. Although technically much of it is done off of the wheel. It's quite liberating to cut into a piece. I hope you'll give it a try and put your own spin and unique character.
_____________________________
And just a little parting story... The other day I set up a plate for Ada with a fruit snack.Cantaloupe, watermelon and bananas arranged on plastic plate. I put it on her little table. She sat down, ready to eat. Then got right up, went into the next room. And then emerged back at her table with a porcelain bowl. She put it down on her table and started transferring her fruit into the porcelain bowl, off of the plastic frog plate and then started eating. This potter mama was quite proud.

Bowl byBrian Boyer.
_____________________________
Thanks for reading!
